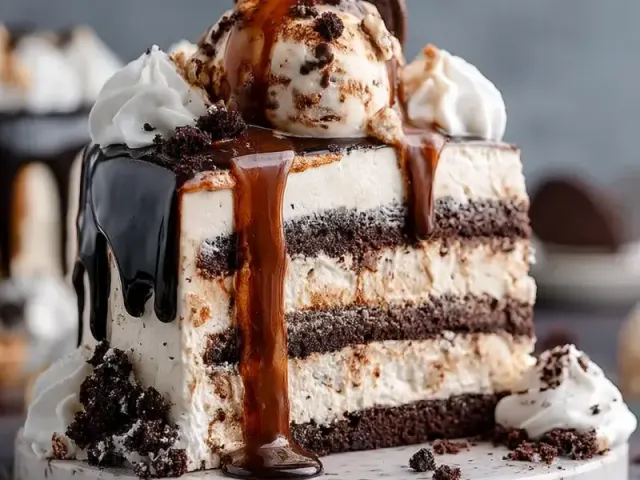
Homemade Ice Cream Cake: No-Scoop Layer Method
The first time I made an ice cream cake at home, I expected a messy, melting disaster. Instead, I got a clean, creamy slice with a crunchy cookie base and a fudge swirl that held its shape. The secret? A no-scoop method that builds the cake from an airy, frozen mousse-like filling. No ice cream maker, no layering softened scoops, and no weeping puddles on the plate.

This recipe uses a simple ratio: one part heavy cream to one part sweetened condensed milk, by volume. That 1:1 balance gives you a filling that freezes firm enough to slice but stays soft on the tongue. The whipped cream provides structure; the condensed milk adds sweetness and prevents ice crystals. The result is a cake that looks impressive but takes about 30 minutes of active work.
Why This Method Works
Most homemade ice cream cakes ask you to soften and layer store-bought ice cream. That works, but the layers often melt into each other, and the cake can get icy if refrozen slowly. Here, the filling starts as a mousse—stiff peaks of whipped cream folded into sweetened condensed milk. When frozen, the air bubbles in the cream keep the texture light, while the condensed milk's high sugar content lowers the freezing point just enough to prevent a rock-hard block.
The key temperature: your heavy cream and sweetened condensed milk must be cold from the fridge. Warm ingredients won't whip properly, and the filling will separate as it freezes. I keep the cream in the fridge until the last minute and chill the mixing bowl, too.