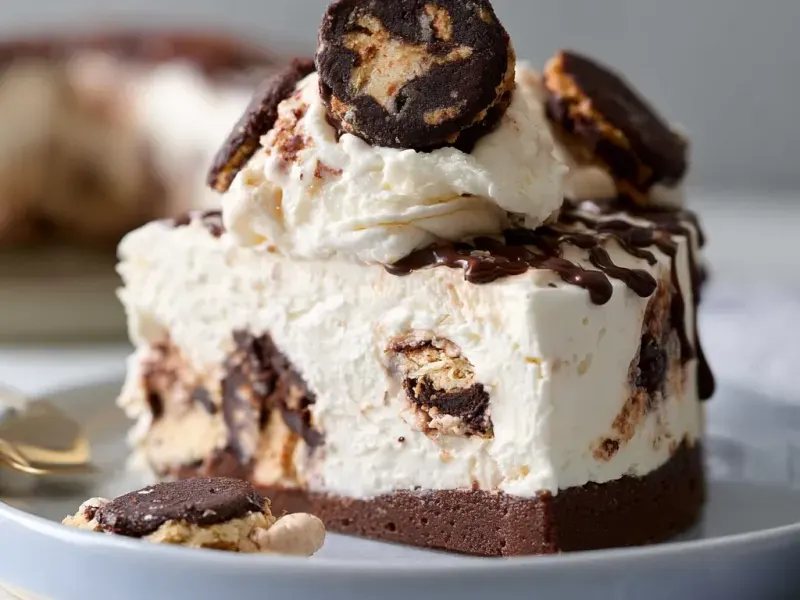
No-Churn Ice Cream Cake: One Pan, No Machine
The first time I made a no-churn ice cream cake, I was after something that wouldn't demand an ice cream maker or a complicated custard. What I found was a base so stable and creamy that it slices cleanly straight from the freezer—no melting puddle, no icy crunch. The secret is the ratio of sweetened condensed milk to whipped cream: too much condensed milk and the cake freezes rock-hard; too little and it turns icy. I keep the ratio at exactly 1 part condensed milk to 2 parts heavy cream by volume. That balance gives you a scoopable, sliceable texture that holds its shape on a plate for a good ten minutes before it starts to soften.

Why This Method Works
The magic of no-churn ice cream lies in the air you whip into the cream. Stiff peaks mean tiny, stable air bubbles that expand when frozen, creating a light, creamy crumb. The condensed milk adds sweetness and body without the need for eggs or cooking. For this cake, I layer that base over a pressed chocolate wafer crust—one that stays crisp because it's fully frozen before the cream goes on. The fudge ripple is optional, but I include it because it breaks up the sweetness with a slightly bitter cocoa note.
Key Techniques for a Sliceable Cake
Getting the Crust Right
Chocolate wafers are my first choice—they're dry and crumbly, so they absorb butter without turning soggy. If you use graham crackers, you'll need a bit less butter because they're more absorbent. Press the crumb mixture firmly into the pan using the bottom of a measuring cup. Then freeze it for a full 15 minutes. That step is non-negotiable: a warm crust will merge with the cream base, leaving you with a muddy layer instead of a clean crunch.
Whipping the Cream to the Perfect Point
Cold cream is essential. I chill the bowl and whisk attachment in the freezer for 10 minutes before starting. Whip on medium-high until the cream holds a peak that stands straight up when you lift the whisk. Stop immediately—if you keep going, the cream will separate into butter and buttermilk. The visual cue: the cream should look billowy and matte, not glossy and slick. Glossy means it's still soft; matte means it's stiff.
Folding Without Deflating
Folding is where most home bakers lose volume. I use a large rubber spatula and cut down through the center of the bowl, then sweep along the bottom and up the side, turning the bowl a quarter turn with each fold. I stop as soon as the last white streak disappears. Overfolding turns your light, airy base into a dense, heavy one.