
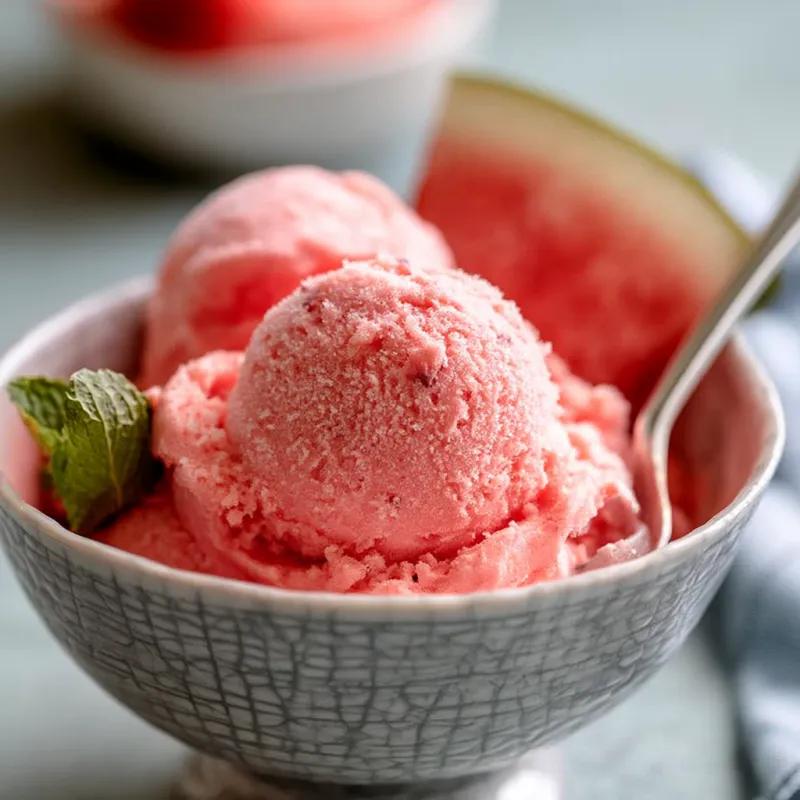
There’s a moment in late July when the air gets thick and heavy, and all you want is something cold, sweet, and utterly refreshing. That’s when I reach for watermelon. But a slice, while good, isn’t always enough. Enter this no-churn watermelon ice cream. It’s creamy, it’s bright, and it tastes like summer in a scoop.

This recipe came from a simple observation: watermelon is mostly water. So if you just freeze it, you get a block of ice. But if you concentrate that flavor into a syrup and fold it into whipped cream, you get an ice cream that’s both intensely fruity and luxuriously creamy. No machine required. Just a little patience and a good arm for whisking.
The Secret to Real Watermelon Flavor
The trick is not to use plain watermelon puree. It’s too watery and will make the ice cream icy. Instead, I turn the puree into a quick syrup. By gently heating the juice with sugar, I concentrate the flavor and reduce the water content. The lemon juice isn’t just for tang—it brightens the watermelon’s natural sweetness and helps the sugar dissolve evenly.
Here’s the key ratio: for every 1 1/2 cups of strained watermelon juice, use 1/2 cup of sugar. This gives a sweetness that tastes like the best, ripest watermelon you’ve ever had. If your watermelon is exceptionally sweet, you can dial it back to 1/3 cup, but no less. The sugar is crucial for texture.
How to Whip Cream for No-Churn Ice Cream
The cream must be very cold—straight from the fridge. If it’s even slightly warm, it won’t whip properly. I pour it into a chilled metal bowl (pop it in the freezer for 10 minutes) for the best results. Beat on medium-high until you see stiff peaks. This means when you lift the beater, the cream stands up straight without flopping over. Stop there. Overwhipped cream turns grainy and then separates into butter.
When you fold the chilled watermelon syrup into the whipped cream, do it gently. A heavy hand will deflate the cream, and you’ll lose that airy texture. I use a rubber spatula and cut through the center, then fold the mixture over itself, rotating the bowl as I go. About 10 folds is usually enough.
The Freezing Step That Makes a Difference
Pour the mixture into a standard 9×5 inch loaf pan. This size gives the right depth for easy scooping. Press a piece of plastic wrap directly onto the surface of the ice cream—this is the most important step for preventing ice crystals. Without it, the top layer will develop a crust of ice. Then cover the whole pan tightly.
Freeze for at least 6 hours. Overnight is better. When you’re ready to serve, let it sit at room temperature for 5 to 10 minutes. If you try to scoop it straight from the freezer, it will be rock hard. A warm metal scoop helps too—dip it in hot water, wipe dry, and scoop.
Common Mistakes to Avoid
- Skipping the strainer. Even seedless watermelons have tiny white seeds and fibrous bits. Straining gives you a silky smooth base.
- Using warm syrup. If the syrup isn’t fully chilled, it will melt the whipped cream and ruin the texture. Chill it in the fridge for at least an hour.
- Overmixing. Fold just until combined. Streaks are fine. Overmixing deflates the air you worked so hard to whip in.
Takeaway
This no-churn watermelon ice cream is proof that you don’t need a fancy machine or a long ingredient list to make something truly special. It’s creamy, it’s fruity, and it’s exactly what a hot summer day calls for. Make a batch for your next barbecue, or just for a quiet evening on the porch. You’ll be glad you did.
Frequently Asked Questions
Can I use frozen watermelon for this recipe?
Yes, you can use frozen watermelon. Thaw it completely first, then puree and strain as directed. The thawed watermelon will release more liquid, so you may need to reduce the sugar slightly—start with 1/3 cup and taste the syrup before chilling.
Why do I need to strain the watermelon?
Straining removes the pulp and seeds (even in seedless watermelon, there are small white seeds). This gives the ice cream a smooth, creamy texture without icy bits. Skipping this step can result in a grainy, icy texture.
Can I reduce the sugar?
You can reduce the sugar to 1/3 cup, but keep in mind that sugar helps prevent large ice crystals and keeps the ice cream scoopable. Less sugar will make the ice cream harder and more icy. For a lower-sugar option, consider using a sugar substitute like allulose or monk fruit sweetener, following the package directions for equivalent sweetness.
How do I prevent ice crystals from forming?
Press plastic wrap directly onto the surface of the ice cream mixture before freezing. This prevents air contact, which causes ice crystals. Also, make sure the watermelon syrup is completely cold before folding it into the cream.
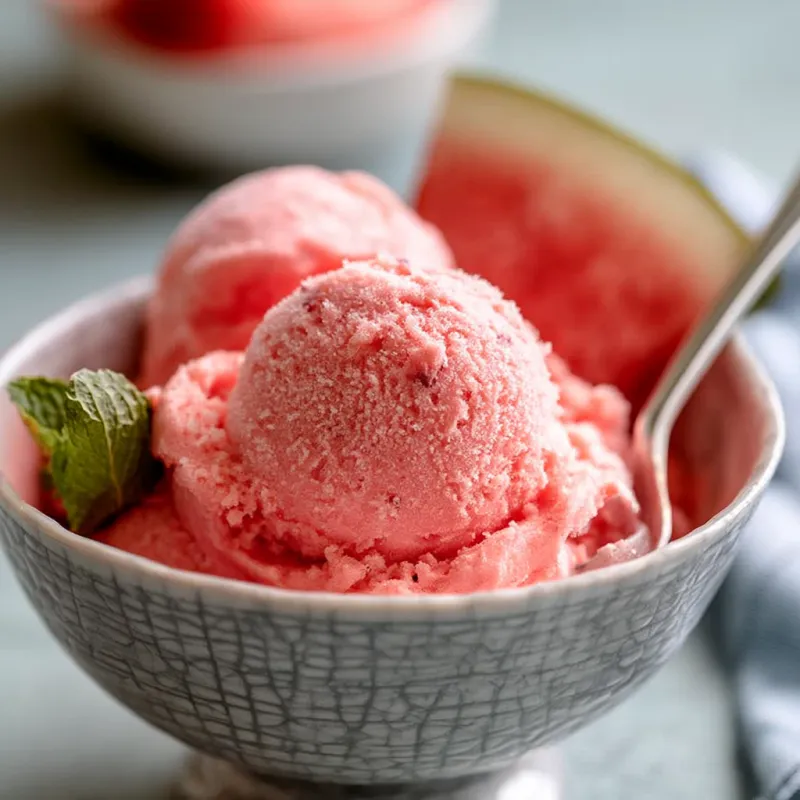
No-Churn Watermelon Ice Cream
Ingredients
Equipment
Method
- Place the cubed watermelon in a blender. Blend until completely smooth, about 30 seconds.
- Pour the puree through a fine-mesh strainer set over a bowl. Press on the solids with a spatula to extract as much juice as possible. You should have about 1 1/2 cups of juice. Discard the pulp.
- In a small saucepan, combine the watermelon juice and sugar. Warm over medium heat, stirring occasionally, until the sugar dissolves completely. Do not let it boil. Remove from heat and stir in the lemon juice. Let cool to room temperature, then refrigerate until completely cold, about 1 hour.
- In a large mixing bowl, pour the cold heavy cream. Using an electric hand mixer or stand mixer with the whisk attachment, beat the cream on medium-high speed until stiff peaks form. When you lift the beaters, the cream should stand up straight without drooping. Be careful not to overbeat or it will turn into butter.
- Gently fold the chilled watermelon syrup into the whipped cream. Use a spatula and a gentle hand, cutting through the cream and folding until just combined. The mixture should be a uniform pale pink with no streaks.
- Pour the mixture into a 9x5 inch loaf pan. Smooth the top with a spatula. Cover tightly with plastic wrap, pressing the wrap directly onto the surface to prevent ice crystals.
- Freeze for at least 6 hours, or overnight, until firm. Let sit at room temperature for 5-10 minutes before scooping for easier serving.